Amplify Gen2は、現在Preview段階ではあるが、なぜGen2になったのかを知るためにもGen1を知っていることは必要であり、Gen1での構築方法をまとめる。Gen1のストレスを感じることによりGen2のありがたみが増すことも考えられる。
以下のドキュメントをベースに進める。
■Overview – Next.js – AWS Amplify Documentation
https://docs.amplify.aws/nextjs/
目次
Amplify Gen1 セットアップ
下記の通り初期セットアップを行う。
■Set up Amplify CLI – Next.js – AWS Amplify Documentation
https://docs.amplify.aws/nextjs/start/getting-started/installation/
npm install -g @aws-amplify/cli
amplify configure
引き続き下記の初期セットアップを行う。App Router、TypeScriptを選択する。
■Set up fullstack project – Next.js – AWS Amplify Documentation
https://docs.amplify.aws/nextjs/start/getting-started/setup/
npm create next-app@14 -- next-blog4 --ts --no-eslint --src-dir --import-alias '@/*' --no-tailwind --app
cd next-blog4
amplify init
↓
(省略)
? Enter a name for the project nextblog4
? Select the authentication method you want to use: AWS profile
? Please choose the profile you want to use amplify-V8XTA
(省略)
Some next steps:
"amplify status" will show you what you've added already and if it's locally configured or deployed
"amplify add <category>" will allow you to add features like user login or a backend API
"amplify push" will build all your local backend resources and provision it in the cloud
"amplify console" to open the Amplify Console and view your project status
"amplify publish" will build all your local backend and frontend resources (if you have hosting category added) and provision it in the cloud
Pro tip:
Try "amplify add api" to create a backend API and then "amplify push" to deploy everything
↑
npm install aws-amplify @aws-amplify/adapter-nextjs
以下のエラーが発生する場合は、amplify init が実行されていないということである。
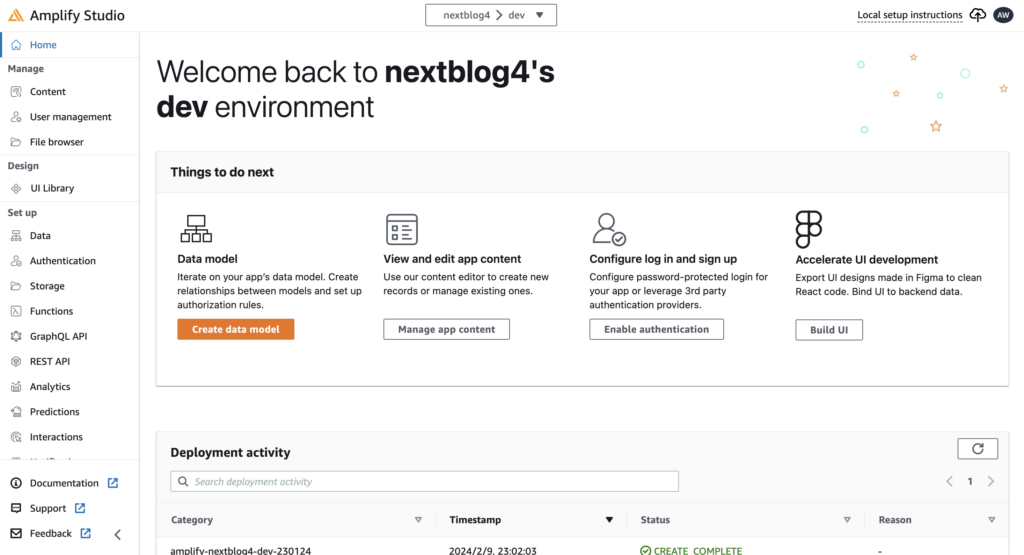
No Amplify backend project files detected within this folder.amplify init によってバックエンドのベースが構築された。AWSコンソールからAWS Amplifyを見てみる。
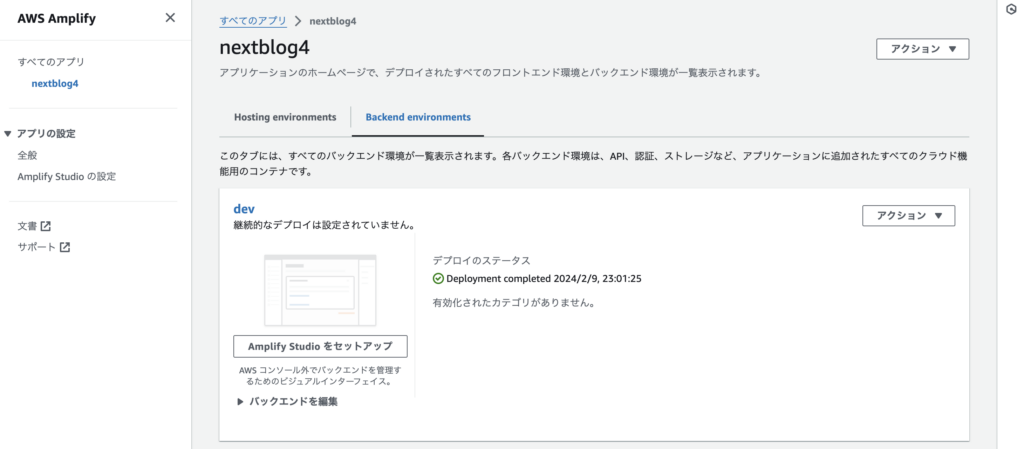
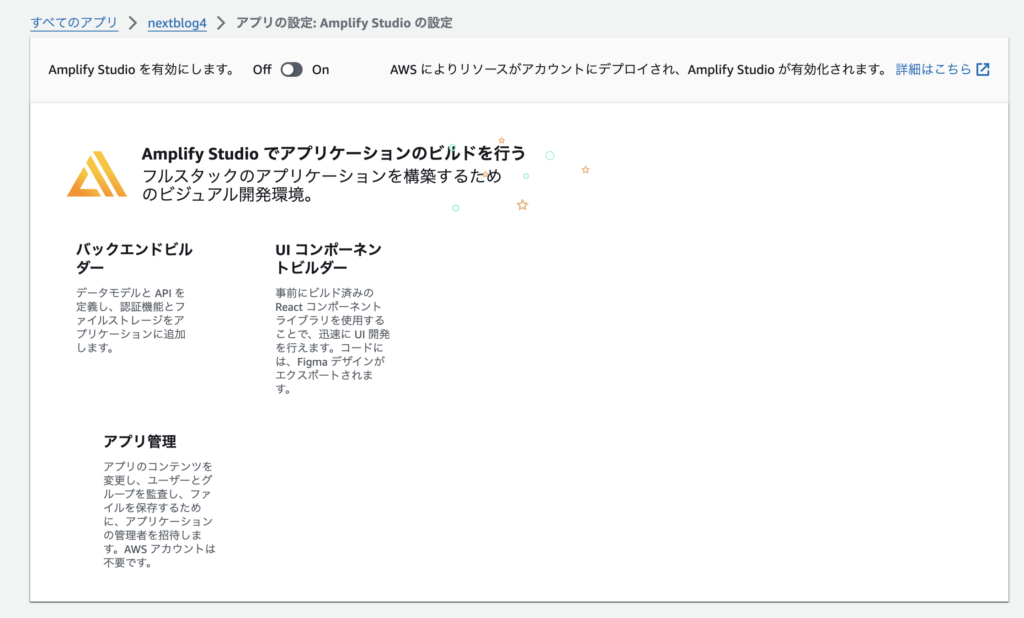
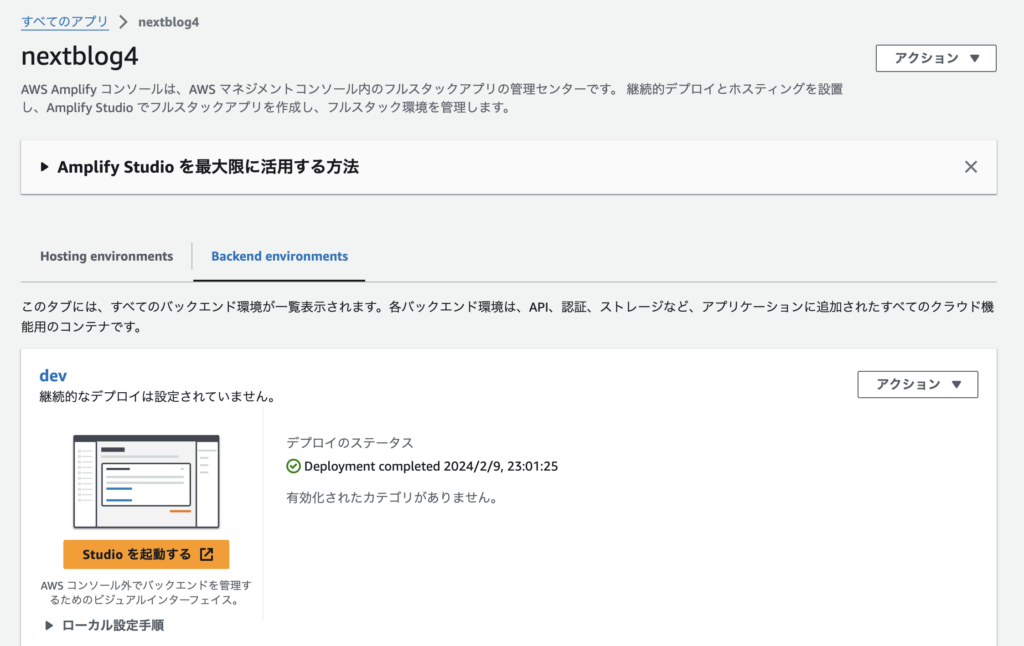
さらに「Amplify Studio をセットアップ」しておく。
ローカルPCで以下を実行し、http://localhost:3000 にアクセスし、Next.jsの画面が表示されれば成功。
npm run dev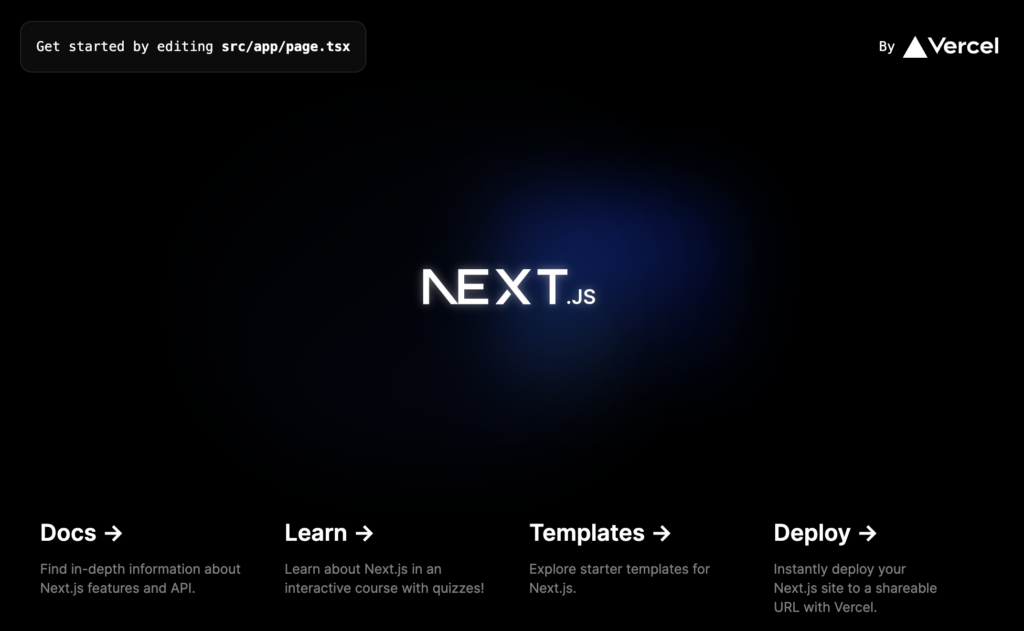
APIの追加(バックエンド構築)
API(GraphQL)追加
”amplify add api”を実行する。AppSyncとDynamoDBが自動生成される。
■Connect API and database to the app – Next.js – AWS Amplify Documentation
https://docs.amplify.aws/nextjs/start/getting-started/data-model/
amplify add api
↓
? Select from one of the below mentioned services: GraphQL
? Here is the GraphQL API that we will create. Select a setting to edit or continue Continue
? Choose a schema template: Single object with fields (e.g., “Todo” with ID, name, description)

⚠️  WARNING: your GraphQL API currently allows public create, read, update, and delete access to all models via an API Key. To configure PRODUCTION-READY authorization rules, review: https://docs.amplify.aws/cli/graphql/authorization-rules

Edit your schema at /Users/xxx/next-blog4/amplify/backend/api/nextblog4/schema.graphql or place .graphql

✔ Do you want to edit the schema now? (Y/n) · yes

✅ Some next steps:
"amplify push" will build all your local backend resources and provision it in the cloud
"amplify publish" will build all your local backend and frontend resources (if you have hosting category added) and provision it in the cloud
バックエンド構築
“amplify push”してバックエンドに反映しておく。これが完了するのに3分ほどかかるため、何度も実行するとかなりのストレスとなる。
amplify push
? Do you want to generate code for your newly created GraphQL API Yes
? Choose the code generation language target typescript
? Enter the file name pattern of graphql queries, mutations and subscriptions src/graphql/**/*.ts
? Do you want to generate/update all possible GraphQL operations - queries, mutations and subscriptions Yes
? Enter maximum statement depth [increase from default if your schema is deeply nested] 2
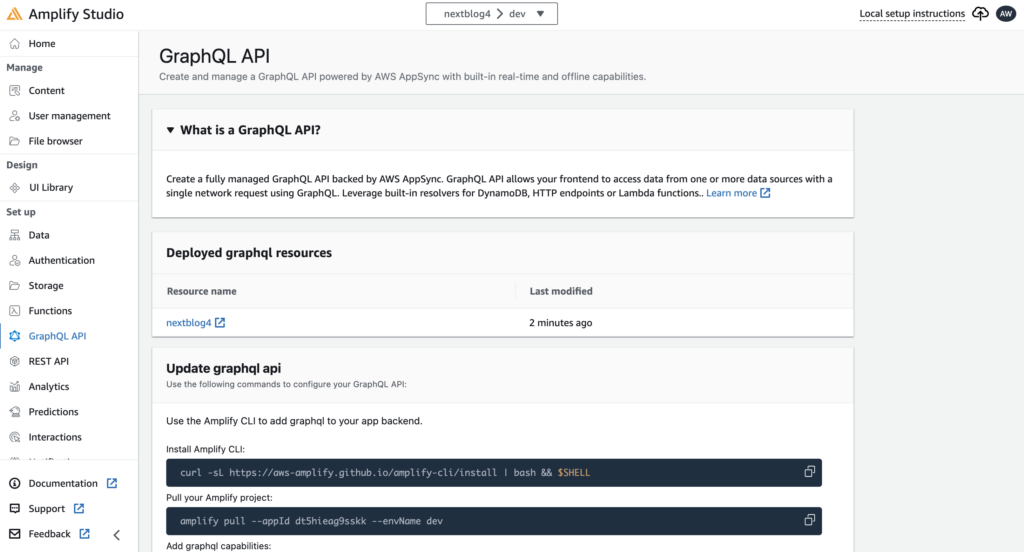
? Enter the file name for the generated code src/API.tsAmplify Studio の「GraphQL API」を見ると、デプロイされたgraphql resourcesが表示される。
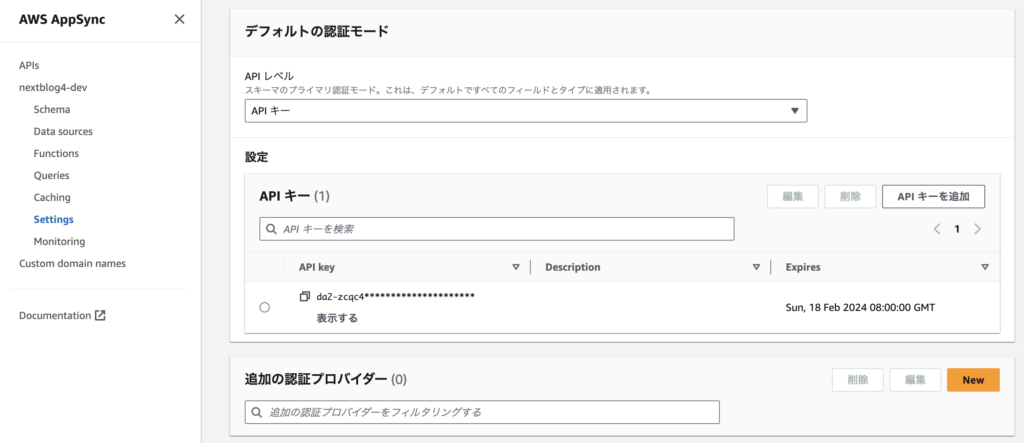
AWS AppSyncに遷移すると認証モードが「APIキー」となっており、有効期限が設定されている。後ほど認証方式は変更するがいったんこのままとする。
Auth(認証)追加(バックエンド構築)
認証方式を「APIキー」から他の認証方式に変更していくのだが、変更した場合、プログラム実装時に以下の認証エラーが出てしまう。
Error: No credentials
    at GraphQLAPIClass._headerBasedAuth (webpack-internal:///(rsc)/./node_modules/@aws-amplify/api-graphql/dist/esm/internals/InternalGraphQLAPI.mjs:70:27)
:
下記を参照して”amplify add auth” を実行し、Cognitoを作っておく。
■Set up Amplify Auth – Next.js – AWS Amplify Documentation
https://docs.amplify.aws/nextjs/build-a-backend/auth/set-up-auth/
amplify add auth
Do you want to use the default authentication and security configuration? Default configuration
Warning: you will not be able to edit these selections.
How do you want users to be able to sign in? Email
Do you want to configure advanced settings? No, I am done.
UIライブラリである以下も実行しておく。
npm install aws-amplify @aws-amplify/ui-react“amplify push”してバックエンドに反映しておく。3分ほどじっくり待つ。
npm install aws-amplify @aws-amplify/ui-react上記オフィシャルサイトよりwithAuthenticatorのサンプルコードを動かしてみるが、以下の意味不明のエラーが発生する。
./node_modules/@aws-amplify/ui-react-core/dist/esm/components/FormCore/FormProvider.mjs
Attempted import error: 'useForm' is not exported from 'react-hook-form' (imported as 'useForm').

or

Attempted import error: 'useForm' is not exported from 'react-hook-form' (imported as 'useForm').

Import trace for requested module:
./node_modules/@aws-amplify/ui-react-core/dist/esm/components/FormCore/FormProvider.mjs
./node_modules/@aws-amplify/ui-react-core/dist/esm/index.mjs
./node_modules/@aws-amplify/ui-react/dist/esm/index.mjs
./src/app/page.tsx
以下の2箇所を修正する。
src/app/page.tsx

'use client' // 追加

import { Amplify } from 'aws-amplify';
import type { WithAuthenticatorProps } from '@aws-amplify/ui-react';
import { withAuthenticator } from '@aws-amplify/ui-react';
import '@aws-amplify/ui-react/styles.css';
import config from '@/amplifyconfiguration.json'; // . → @
Amplify.configure(config);

export function App({ signOut, user }: WithAuthenticatorProps) {
  return (
    <>
      <h1>Hello {user?.username}</h1>
      <button onClick={signOut}>Sign out</button>
    </>
  );
}

export default withAuthenticator(App);
以下のようにログイン画面が表示される。
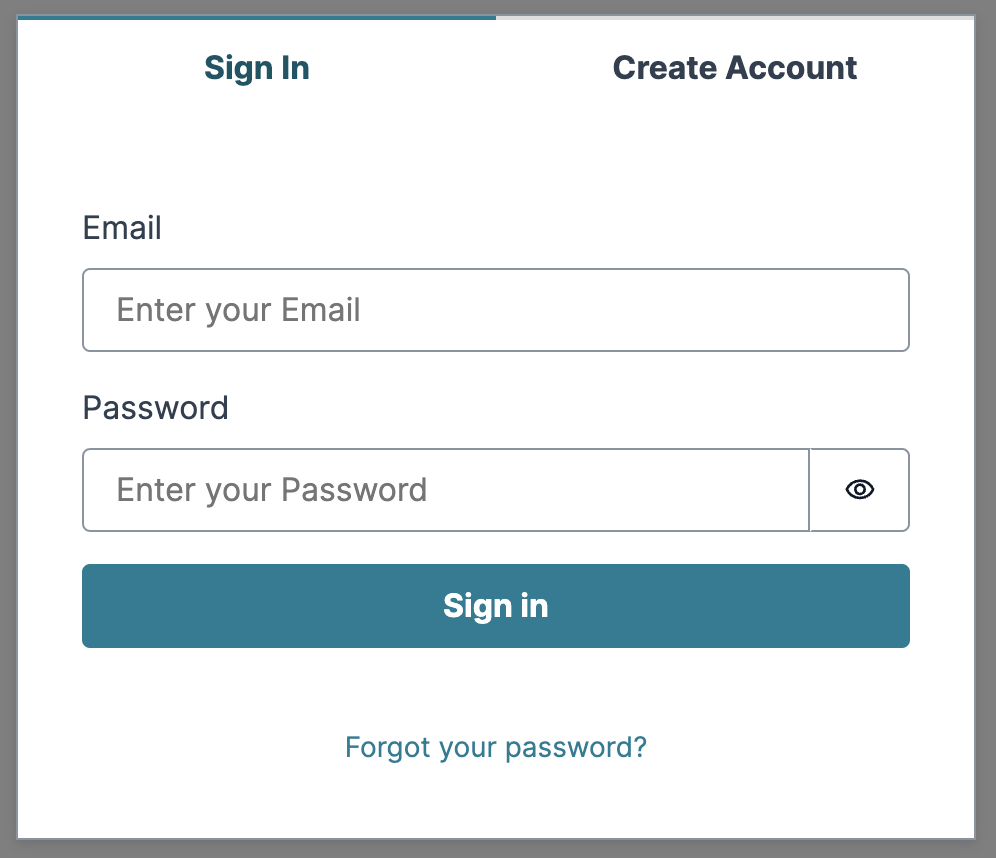
ユーザー登録すると以下の画面が表示される。

以上でauthの初期設定(準備作業)は完了である。
APIを使ったプログラム作成
SSR(Server Side Rendering)によるAPI実行プログラム
以下の「Create a form for submitting the todos」に戻る。
■Connect API and database to the app – Next.js – AWS Amplify Documentation
https://docs.amplify.aws/nextjs/start/getting-started/data-model/#create-a-form-for-submitting-the-todos
現在、認証方式が「APIキー」のため誰でもデータが扱える状態となっている。いったん上記オフィシャルサイトのソースで動作確認する。
ちなみに、このままでは画面が真っ黒で入力文字の判別ができないので、src/app/globals.css の中身は、ずばっと削除しておくとよいかもしれない。
src/app/page.tsx

import { generateServerClientUsingCookies } from '@aws-amplify/adapter-nextjs/api';
import { cookies } from 'next/headers';
import { revalidatePath } from 'next/cache';
import * as mutations from '@/graphql/mutations';
import config from '@/amplifyconfiguration.json';

const cookiesClient = generateServerClientUsingCookies({
    config,
    cookies
});

async function createTodo(formData: FormData) {
    'use server';
    try {
        console.log("debug name=", formData.get('name')?.toString() ?? '')

        const { data } = await cookiesClient.graphql({
            query: mutations.createTodo,
            variables: {
                input: {
                    name: formData.get('name')?.toString() ?? ''
                }
            },
        });
        console.log("create ok.", data)

        console.log('Created Todo: ', data?.createTodo);

        revalidatePath('/');
    } catch (error) {
        console.log("An error has occured! ", error)
    }
}

export default async function Home() {
    return (
        <div
            style={{
                maxWidth: '500px',
                margin: '0 auto',
                textAlign: 'center',
                marginTop: '100px'
            }}
        >
            <form action={createTodo}>
                <input name="name" placeholder="Add a todo" />
                <button type="submit">Add</button>
            </form>
        </div>
    );
}
以下の画面が表示されると成功である。

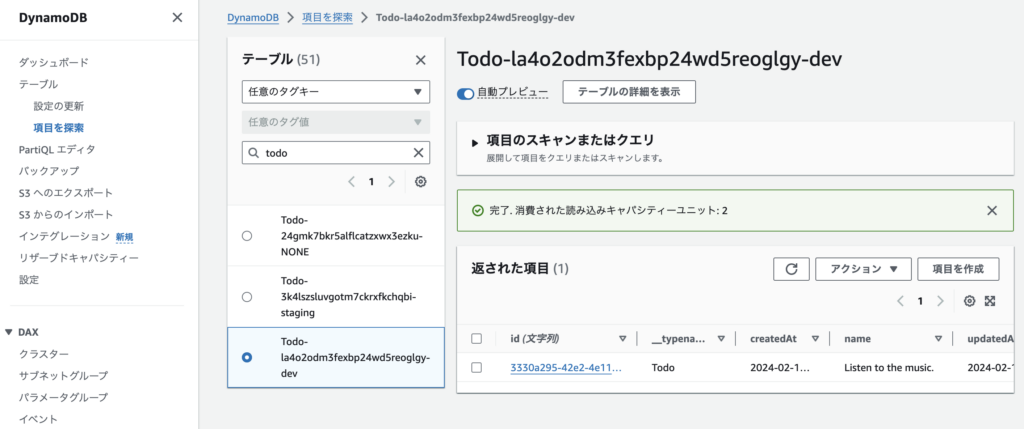
「Listen to the music.」など入力して「Add」ボタンをクリックすると、以下のようにDynamoDBに値が入っている!!
続いて、DBを読み込むソースも追記する。
src/app/page.tsx
import { generateServerClientUsingCookies } from '@aws-amplify/adapter-nextjs/api'
import { cookies } from 'next/headers'
import { revalidatePath } from 'next/cache'
import * as mutations from '@/graphql/mutations'
import * as queries from '@/graphql/queries'
import config from '@/amplifyconfiguration.json'
const cookiesClient = generateServerClientUsingCookies({
config,
cookies
})
async function createTodo(formData: FormData) {
'use server'
const { data } = await cookiesClient.graphql({
query: mutations.createTodo,
variables: {
input: {
name: formData.get('name')?.toString() ?? ''
}
}
})
console.log('Created Todo: ', data?.createTodo);
revalidatePath('/')
}
export default async function Home() {
const { data, errors } = await cookiesClient.graphql({
query: queries.listTodos
})
const todos = data.listTodos.items
return (
<div
style={{
maxWidth: '500px',
margin: '0 auto',
textAlign: 'center',
marginTop: '100px'
}}
>
<form action={createTodo}>
<input name="name" placeholder="Add a todo" />
<button type="submit">Add</button>
</form>
{(!todos || todos.length === 0 || errors) && (
<div>
<p>No todos, please add one.</p>
</div>
)}
<ul>
{todos.map((todo) => {
return <li style={{ listStyle: 'none' }}>{todo.name}</li>;
})}
</ul>
</div>
)
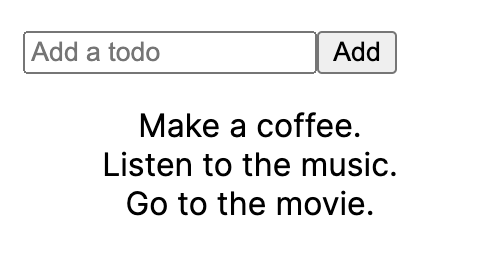
}DBを読み込むと以下のように表示される!
このあたり、さらっと書いているが、あちこちを触りながら試行錯誤で進めてようやく辿り着いたという感じである。そのため、DynamoDBに登録された時は感慨深いものがあった。
ただし、今の状態ではPublicにデータ公開されており、有識者であればデータ操作できてしまう恐れがあるため、次回においてテーブルに制限をかけていく。