今回、5階部分(Amazon Amplify フロントエンド<Authenticator>)を作る。前回の記事はこちらから参照ください。Authenticatorを使ったログイン画面は比較的簡単に作ることができる。typescriptを使うとプラスアルファの知識が必要になり迷走するため今回は使わない。
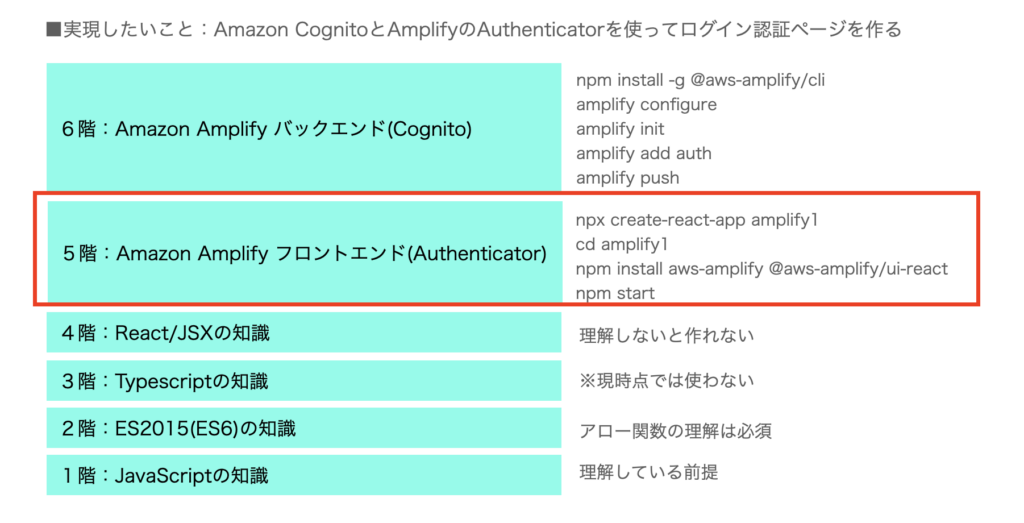
以下のページ構成を作りたいのだが、まずはAuthenticatorで自動的に作られる画面(ログイン画面、パスワードリマインダー画面、ユーザー登録画面)を作る。このあたりは特にReactの知識がなくてもすいすい進められる。

目次
5階:Amazon Amplify フロントエンド(Authenticator)
今回も、基本的に以下のコマンドをターミナルで実行していくだけである。
npx create-react-app amplify1
cd amplify1
npm install aws-amplify @aws-amplify/ui-react
npm start
Reactアプリの初期ファイルを作成
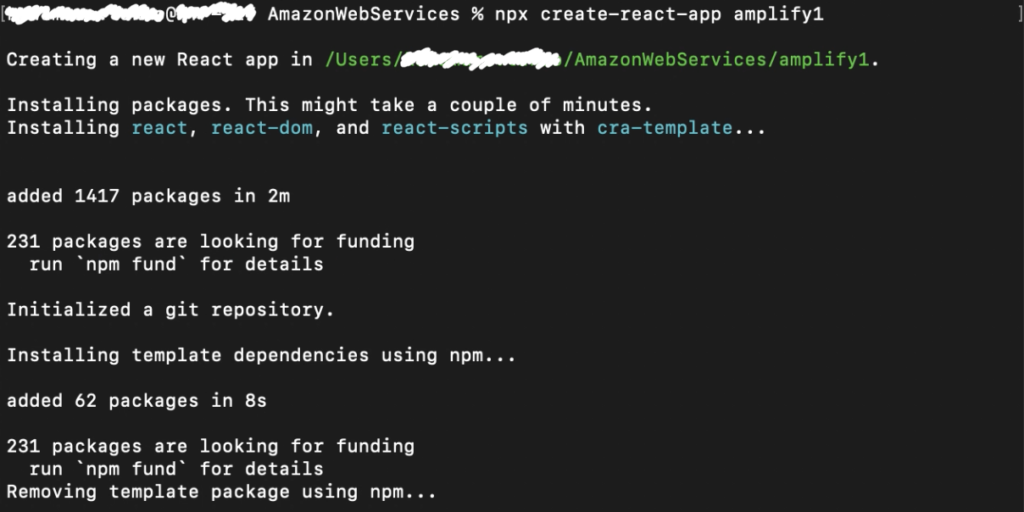
まずはReactの基本ファイルを生成する。注意すべきは親ディレクトリで実行すること。指定したプロジェクト名(今回の場合「amplify1」)でディレクトリが自動で作成されるので。
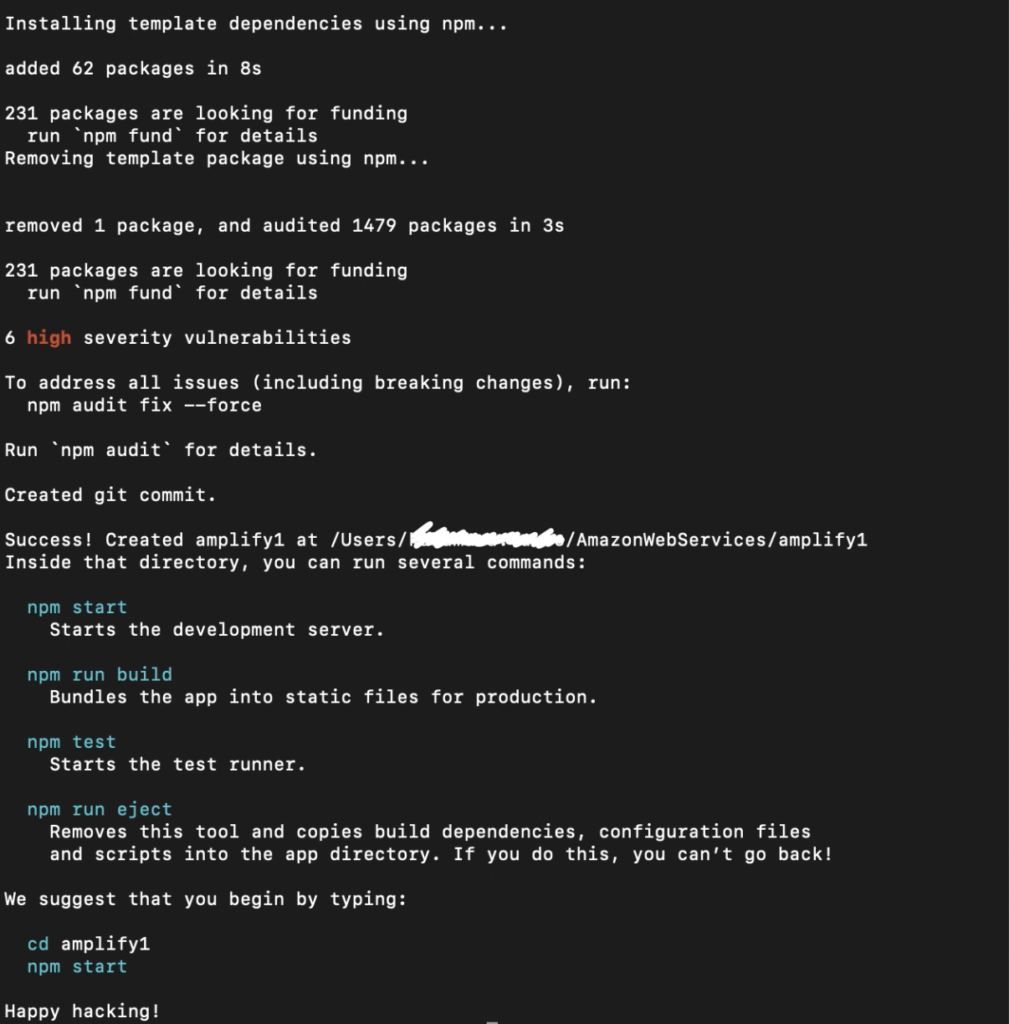
npx create-react-app amplify1以下のように表示され、完了する。
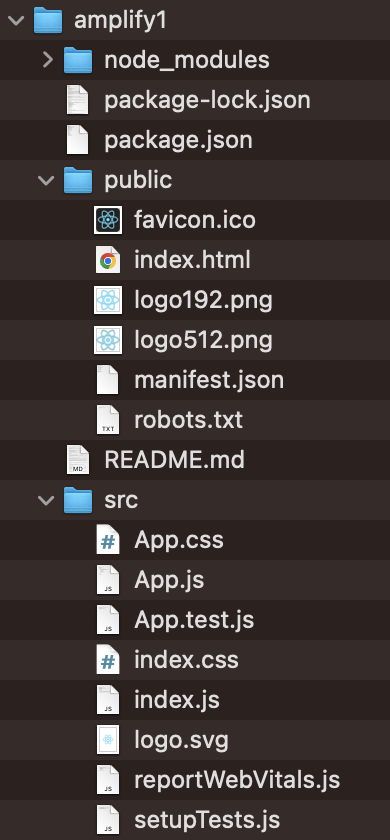
以下のファイル群が作成される。
Amplifyのui-reactをインストール
Reactの基本ファイルに加え、AmplifyのUIライブラリ(React用)をインストールする。
cd amplify1
npm install aws-amplify @aws-amplify/ui-react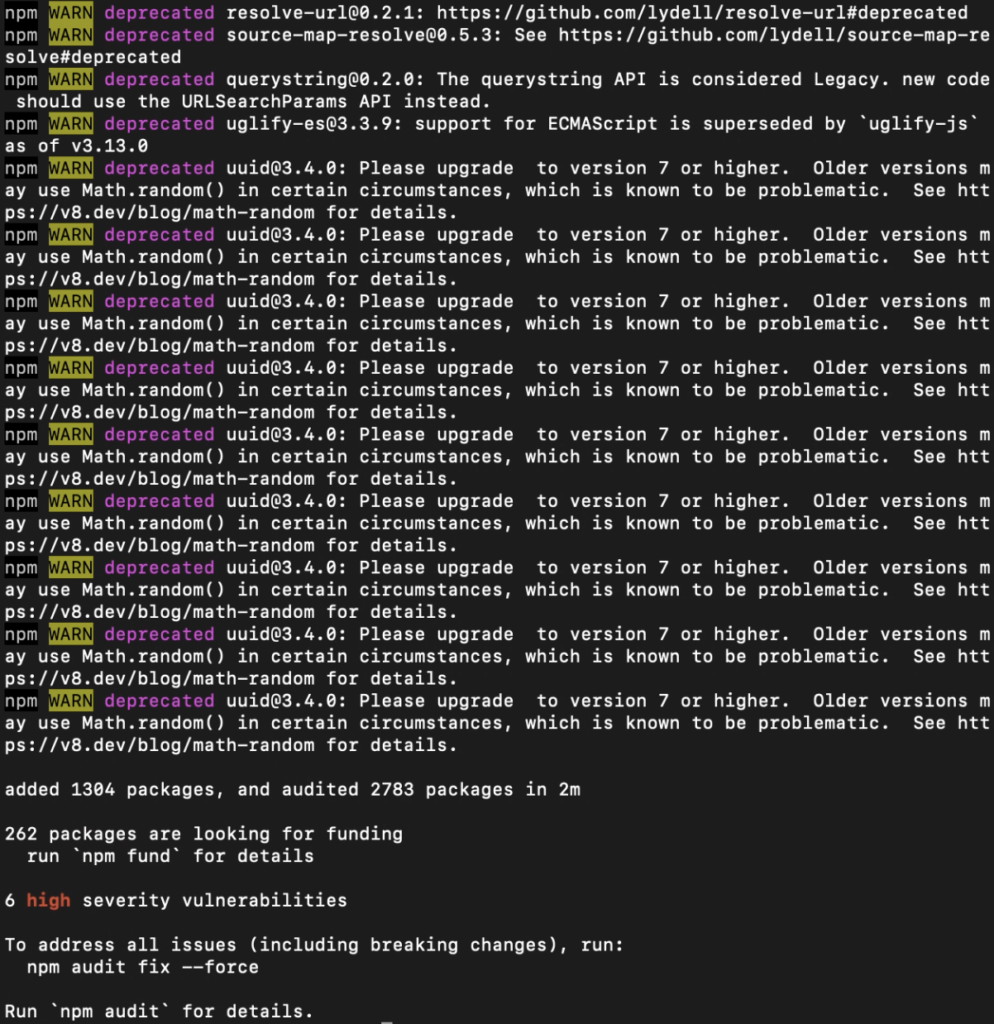
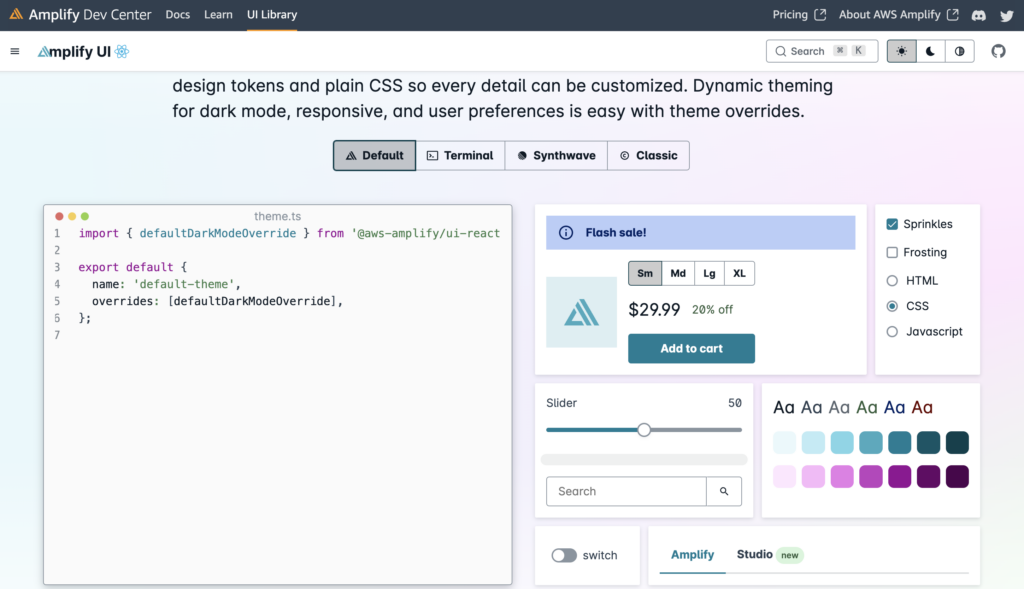
「node_modules」フォルダにAmplifyのui-reactライブラリがインストールされ、以下のAmplifyのUIを利用することが可能となる。
■Amplify UI – Build UI fast with Amplify on React
https://ui.docs.amplify.aws/?platform=react
以下を実行し、Reactの初期画面が出ることを確認しておく。
npm start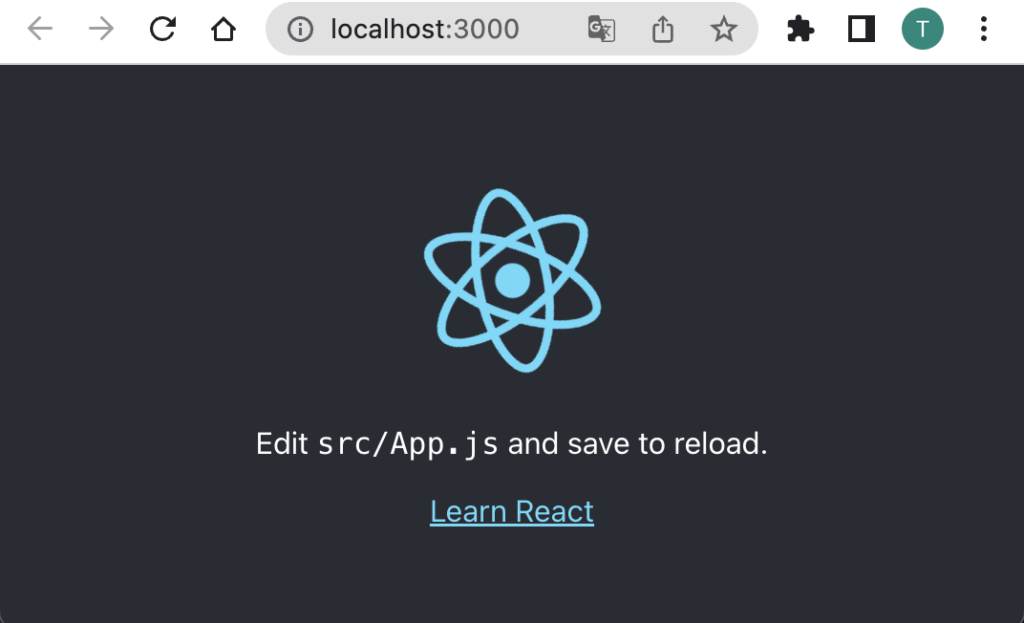
不要ファイルを削除
srcフォルダの以下の不要な初期ファイルは削除しておく(無駄なワーキングメモリを使いたくないため)。
/src/App.css
/src/App.test.js
/src/index.css
/src/logo.svg
/src/reportWebVitals.js
/src/setupTests.js
srcフォルダ配下は以下のみになる。
/src/App.js
/src/index.js
ファイルを初期化
/src/index.js
以下のindex.jsの不要部分を削除する。
import React from 'react';
import ReactDOM from 'react-dom/client';
import './index.css'; ←削除
import App from './App';
import reportWebVitals from './reportWebVitals'; ←削除

const root = ReactDOM.createRoot(document.getElementById('root'));
root.render(
  <React.StrictMode> ←削除
    <App />
  </React.StrictMode> ←削除
);

// If you want to start measuring performance in your app, pass a function ←削除
// to log results (for example: reportWebVitals(console.log)) ←削除
// or send to an analytics endpoint. Learn more: https://bit.ly/CRA-vitals ←削除
reportWebVitals(); ←削除
変更後のindex.jsは以下になる。
import React from 'react';
import ReactDOM from 'react-dom/client';
import App from './App';

const root = ReactDOM.createRoot(document.getElementById('root'));
root.render(
    <App />
);
/src/app.js
以下のapp.jsの不要部分を削除する。
import logo from './logo.svg'; ←削除
import './App.css'; ←削除

function App() {
  return (
    <div className="App">
      ↓削除
      <header className="App-header">
        <img src={logo} className="App-logo" alt="logo" />
        <p>
          Edit <code>src/App.js</code> and save to reload.
        </p>
        <a
          className="App-link"
          href="https://reactjs.org"
          target="_blank"
          rel="noopener noreferrer"
        >
          Learn React
        </a>
      </header>
      ↑削除
    </div>
  );
}

export default App;
変更後のapp.jsは以下になる。
function App() {
  return (
    <div className="App">

    </div>
  );
}

export default App;
これで初期状態の設定は完了となる。
Authenticatorを使いログイン画面を表示
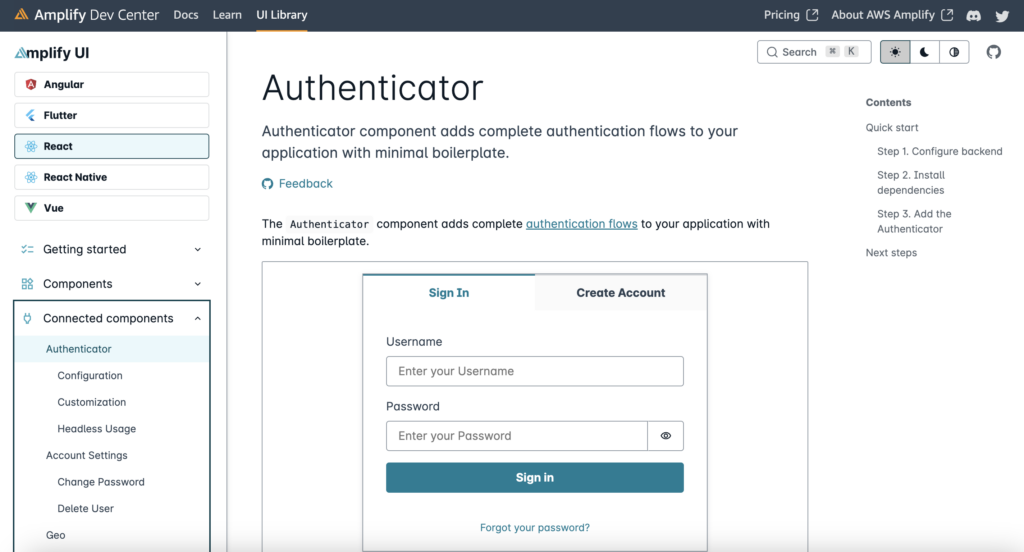
以下のリファレンスを見ながら進めていく。
■Authenticator | Amplify UI for React
https://ui.docs.amplify.aws/react/connected-components/authenticator
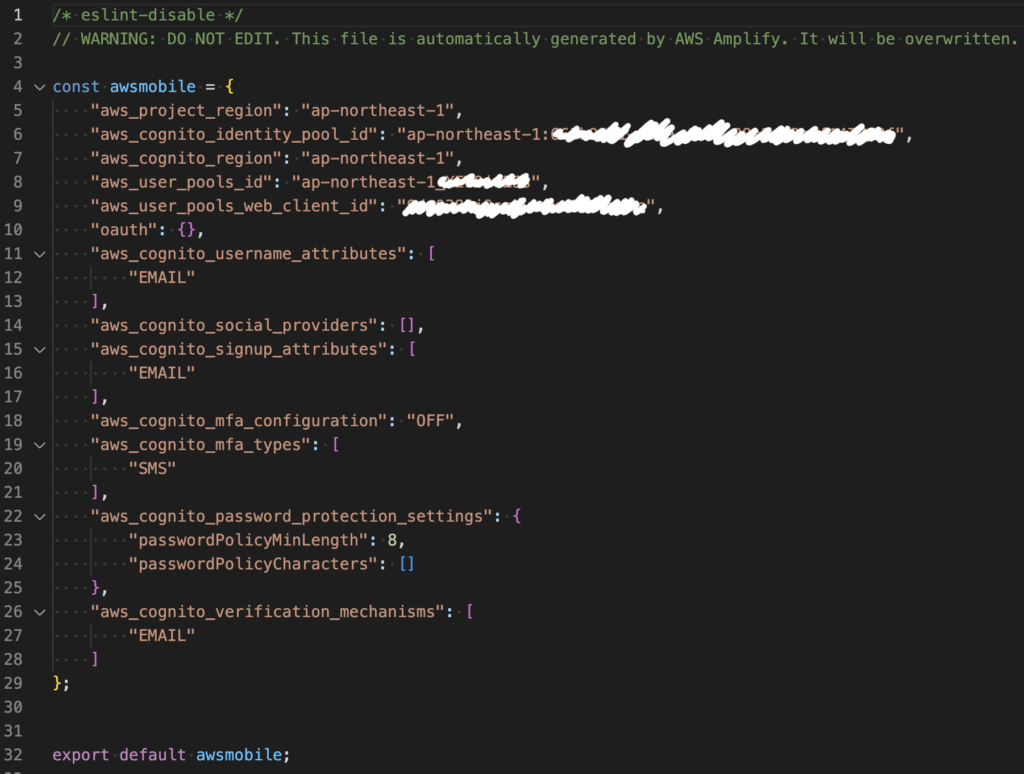
/src/aws-exports.js
前回作成した「aws-exports.js」をコピーし、「src」フォルダ配下に置く。中身は以下のようになっている。
/src/app.js
リファレンスを参考に以下のようにコードを追加していく。
import { Amplify } from 'aws-amplify';

import { Authenticator } from '@aws-amplify/ui-react';
import '@aws-amplify/ui-react/styles.css';

import awsExports from './aws-exports';
Amplify.configure(awsExports);

function App() {
  return (
    <Authenticator>
      {({ signOut, user }) => (
        <main>
          <h1>Hello {user.username}</h1>
          <button onClick={signOut}>Sign out</button>
        </main>
      )}
    </Authenticator>
  );
}

export default App;
改めて以下を実行する。
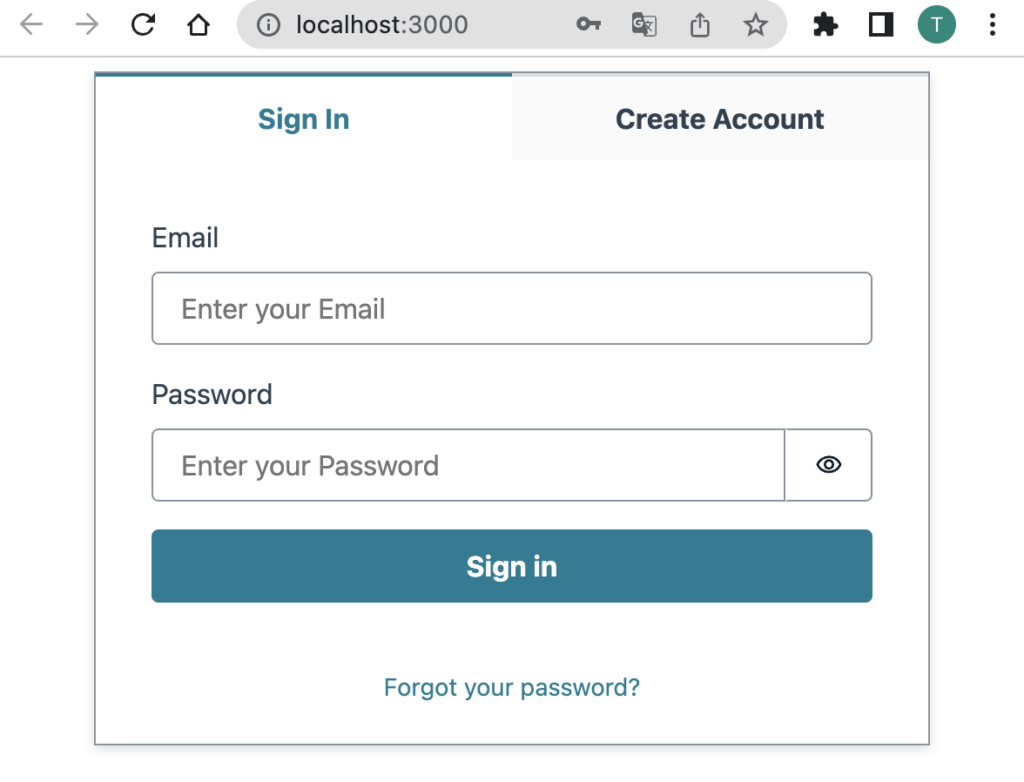
npm start上記の数行の記述だけでログイン画面が表示される。
「Create Account」タブをクリックすると、ユーザーの新規登録画面が表示されるのでアカウントを作ってみる。
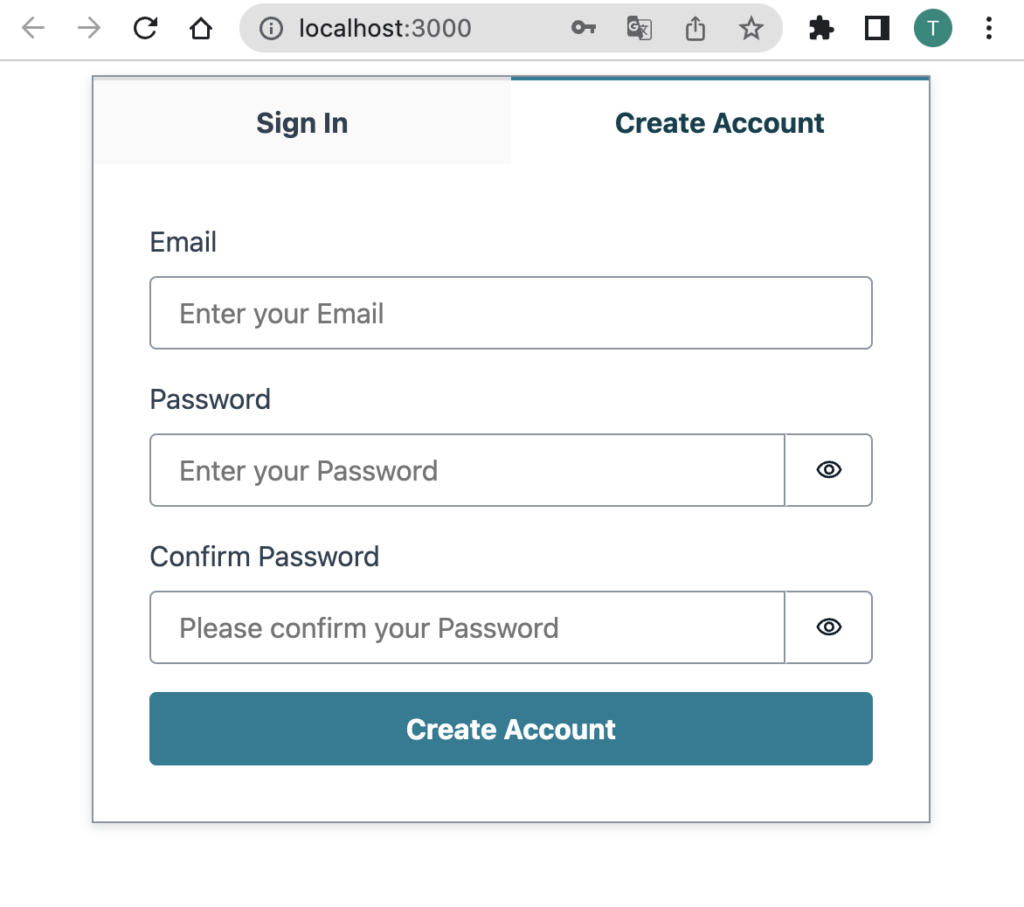
EmailとPasswordを入力して「Create Account」ボタンをクリックする。
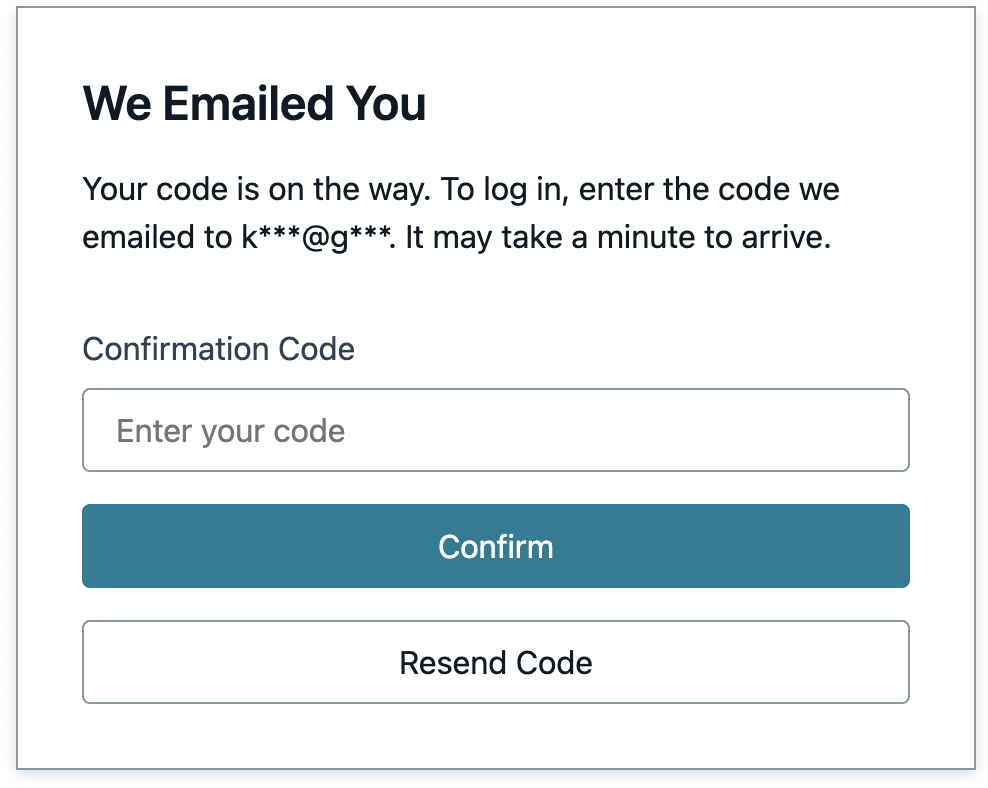
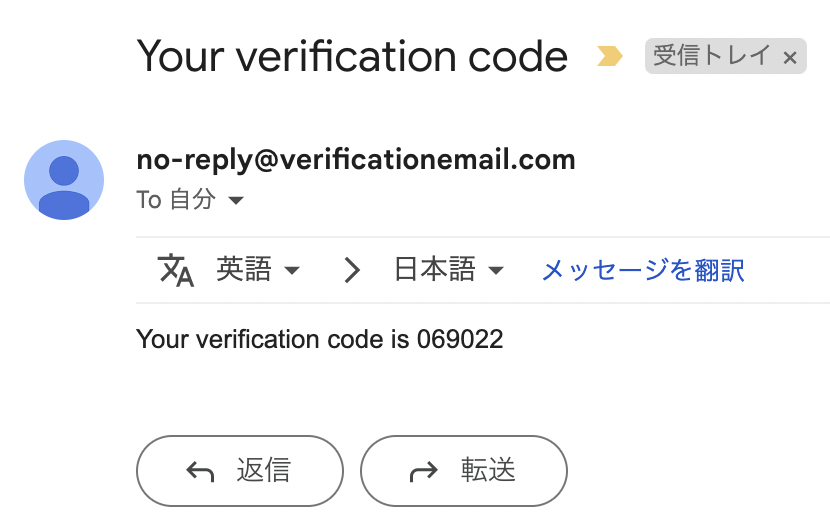
以下のようなメールが届くので、届いたコードを入力する。
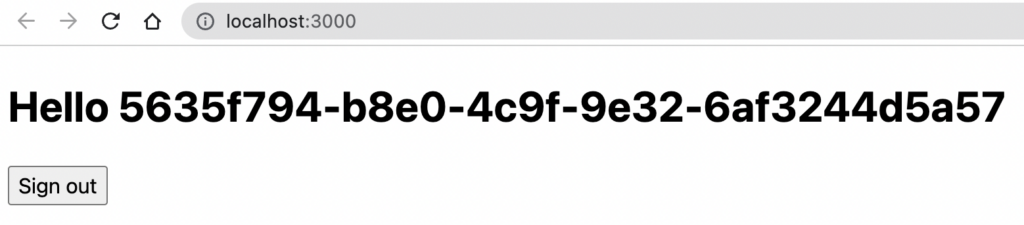
コード入力後、以下の画面に遷移する。自動設定された「user.username」が表示される。
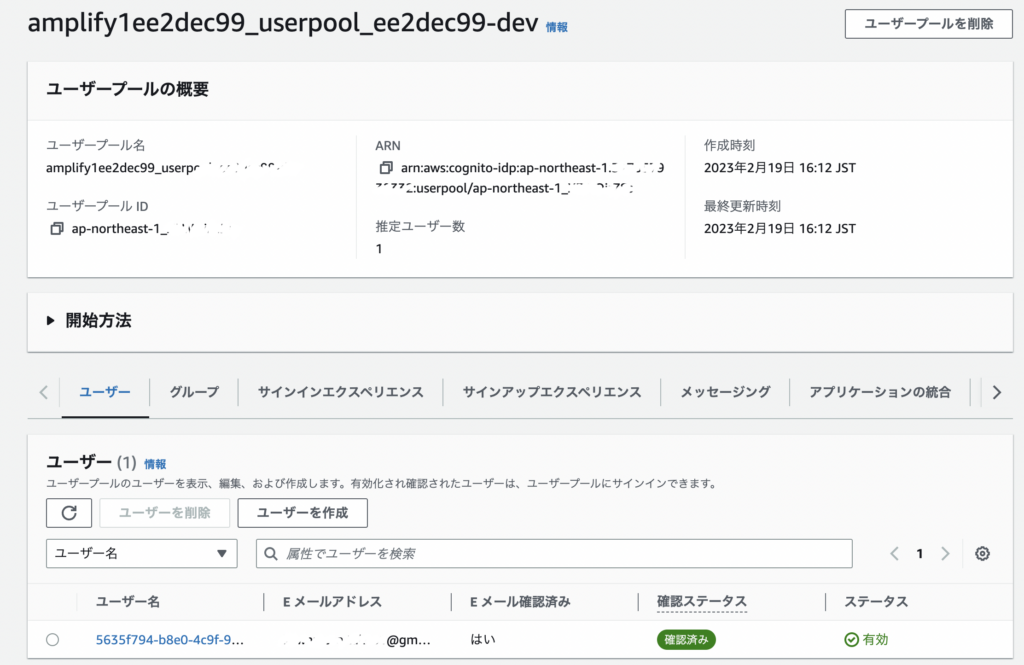
Cognitoのユーザープールにも追加されている。
以上でAmplifyのAuthenticatorを使ったログイン画面などのフロントエンドの初期構築は完了。次回は、今回のソースをベースにカスタマイズしていく。
(余談)Reactアプリの初期ファイル作成時にTypeScriptを使う場合
以下を実行することでTypeScriptを使った開発も可能である。
npx create-react-app amplify2 --template typescriptしかし、TypeScriptの知識がない場合はあまりお勧めできない。もちろん本格的な開発を行うのであれば必須かもしれないが、Authenticatorの概要を把握する上では障害になるので、余計な頭を使わないために最初はJSで進める方がよい。例えば npm start で実行しようとすると以下のエラーが発生した。
TS18048: 'user' is possibly 'undefined'.
    41 |       {({ signOut, user }) => (
    42 |         <main>
  > 43 |           <h1>Hello { user.username }</h1>
       |                       ^^^^
    44 |           <button onClick={signOut}>Sign out</button>
    45 |         </main>
    46 |       )}
TypeScriptの知識があればなんてことはないのだが、最初にこのエラーがでて躓いてしまうとつらいものがある。
修正方法としては、App.tsxの以下の「user.username」の部分を・・・
({ signOut, user }) => (
  <main>
   <h1>Hello! {user.username}</h1>
   <button onClick={signOut}>Sign out</button>
  </main>
)
「user?.username」にするだけである。つまりNullを許容する必要がある。
({ signOut, user }) => (
  <main>
   <h1>Hello! {user?.username}</h1>
   <button onClick={signOut}>Sign out</button>
  </main>
)